Last updated on July 14th, 2020 at 06:53 am
In simple words, toenailing is all about fixing two lumbers by the slanted application. It is mostly used for the boards that are not straight in shape or a little wrapped. Professional carpenters opt for toenailing to line them up correctly.
Toenailing is an essential carpentry skill.
It is an art which every carpenter should master. In fact, for a beginner, it is imperative to study and practice it too for DIY projects. It allows them to align crooked and stubborn boards into proper position.
Though an experienced carpenter can toenail rather comfortably by maneuvering the nail, if it is your first time, it can be an issue for you. Instead, you should master only a few tricks for position and driving nails. This would be more than enough to have command on the basics of essential carpentry skills.
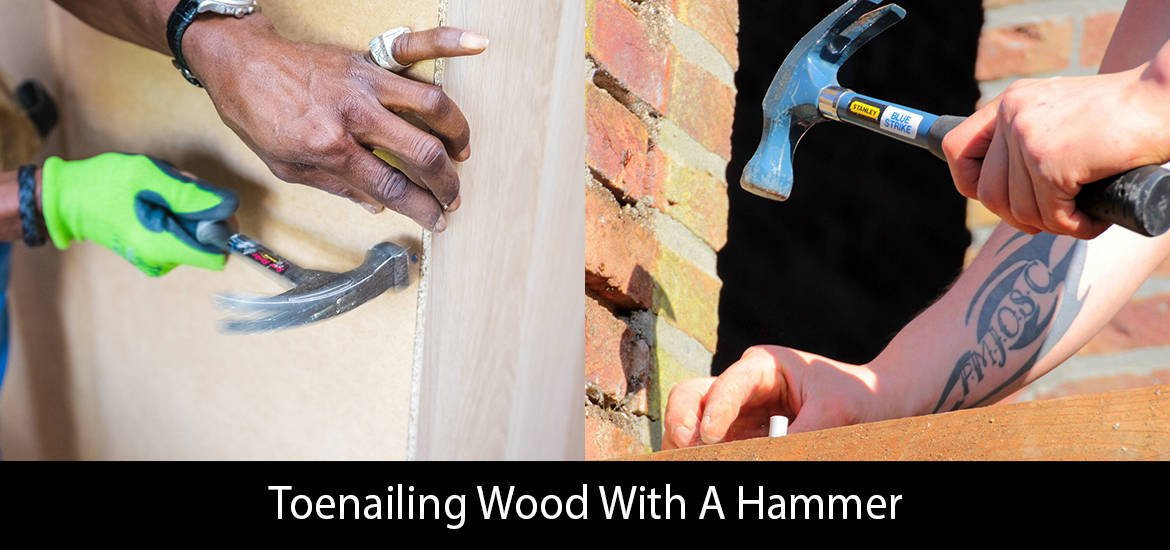
Toenailing Wood With A Hammer
Before perceiving the function of a framing nailer for toenailing, it is imperative to have some basic understanding regarding how the simple hammers work.
Since almost the same rules apply on a framing nailer as well.
First, understand how the positioning of the two pieces of woods works. For example, it is easier to fix two pieces in the same horizontal or vertical position, but in case you are planning to secure a vertical bar on a horizontal and flat surface, rules will change.
Rather than fastening the nail at 90 degrees, secure it with a 50-degree angle. You can use multiple nails also. This will require greater hammer control, but it will ensure that the wood stays in the range.
Second, great hammer control isn’t the only thing that matters. You must perceive how to use stronger strikes. Of course, this won’t matter with a framing nailer, as the framing nailers have their own driving force. But it would help you in comprehending what kind of force do you need for your projects in order to achieve the perfect toenail.
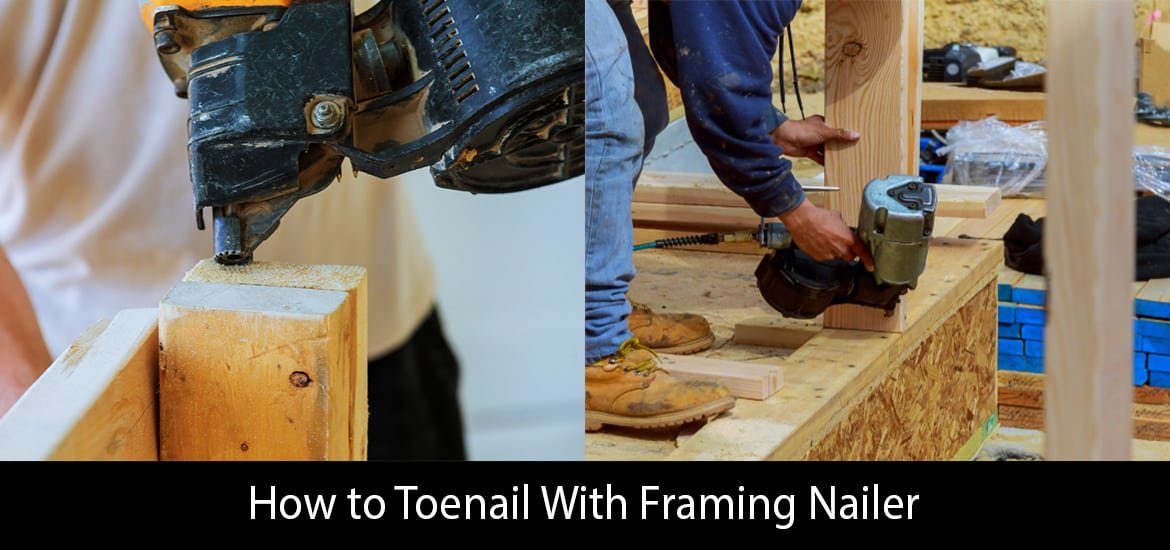
How to Toenail With Framing Nailer
Using a framing nailer for toenailing is always a better choice.
And, there are lots of reasons behind it.
You don’t need to move the hammer again and again in order to fix the nail. It pushes the nail inside the wood with a single push of the button. Furthermore, you can drive the nails in at the desired angle, which is sometimes not possible with a hammer.
If it is your first time with a framing nailer, you can follow some effective tips for toenailing. They will assist in making strong joints and fasten the inflexible boards too into position.
Safety First
Yes, safety first.
A framing nailer has a capability to shave hours off the workday. It is a professional and exceptional machine which assists thousands of experts worldwide, even in industrial-level projects. However, it is also responsible for thousands of injuries each year.
So, get protective gear such as protective eyewear and a hard hat.
Both of these things are immensely important and protect you from the flying pieces of wood. You can acquire them easily from any hardware store and online too.
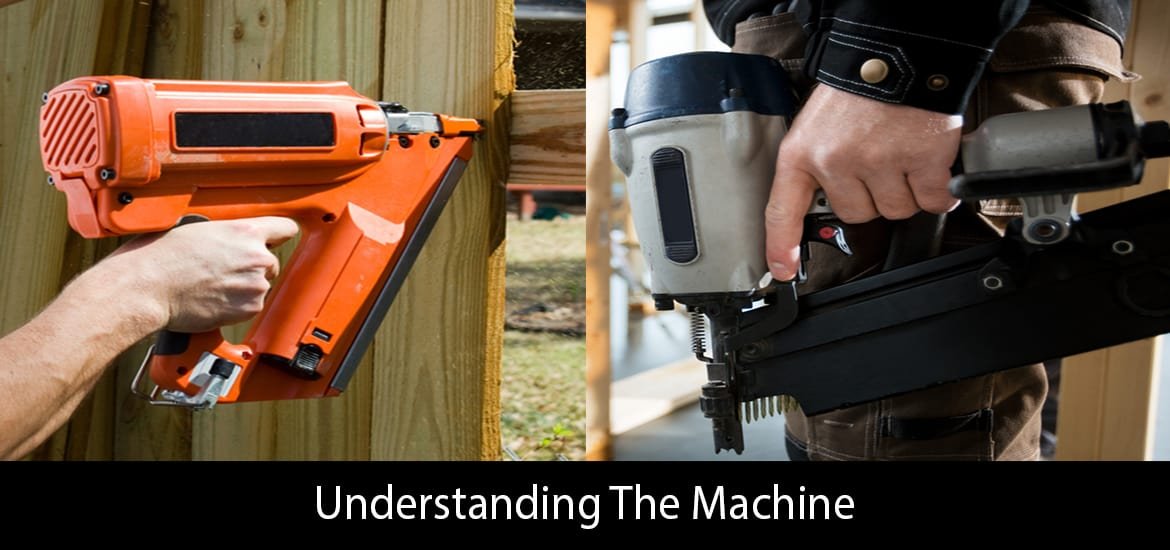
Understanding The Machine
Toenailing won’t work if you don’t know how a framing nailer works.
You need to know some basic things about it and canvass how they can assist you for toenailing. For example, one should perceive how the trigger system of their nailer works.
Some framing nailers have bump firing trigger, while others are dependent on a single shot trigger. These days, recent models are indeed having both options for the professionals. They can use it according to their requirement.
For a beginner, it is better to opt for the training before using this machine for toenailing. He should learn about how this machine exactly works, what the main causes of injuries are, inspection and maintenance, and how to operate it for specific DIY projects.
The Awkward Angles
It is correct to say that toenailing is all about dealing with the awkward angles.
You must learn what kind of angles work with structures. If you understanding the driving angles of the nails, you can learn about toenailing rather comfortably.
Now, there are a few rules of a framing nailer which still apply on toenailing projects.
- Don’t turn off the safety features if it’s not possible to work on a specific angle. You can use a hammer instead. But turning the safety features off can make matters worse.
- Never ever remove the spring of the safety-contact tip. This is a common practice among some highly experienced carpenters. However, it is still dangerous. They do that in order to avoid pressing the tip against the surface again and again.
- It is better to use the non-dominant hand for operating the framing nailer. This will protect you from many accidents as you won’t be compelled to press the trigger unconsciously. Plus, you can work on the angles with immense focus.
- Usually, for toenailing, it is about driving the nails from 45 degrees and 60 degrees. You have to tilt the framing nailer a bit to acquire that angle. These angles fixed the two different pieces of woods firmly and allow you to get a maximum holding strength.
- Some user manuals of a framing nailer come with toenailing tips also. They often talk about following the safety features and give you an idea regarding how to use it on specific angles. It is better to follow it for more proficient work.
Concluding Thoughts
In general, toenailing requires some practice.
It is a skill which you need to polish time and time again. You just need to know about a few minor details to do the toenailing projects with efficacy, such as using the right sizes of the nails, going from left to right while nailing the hardwood, and how to reports the unfortunate incidents and get immediate medical help.
So, follow these basic tips while toenailing with a framing nailer. Once you comprehend the basics, it becomes straightforward to work on the professional-level projects also.


